
English Cottage Garden
12 English Cottage Garden Plan Ideas
A cottage garden looks effortless, but the best ones are planned. Before you buy a single plant, you need a path to follow, borders layered in the right heights, and colour that lasts from spring to autumn. These 12 planning steps turn a bare patch of ground into a garden that feels like it grew there on its own.
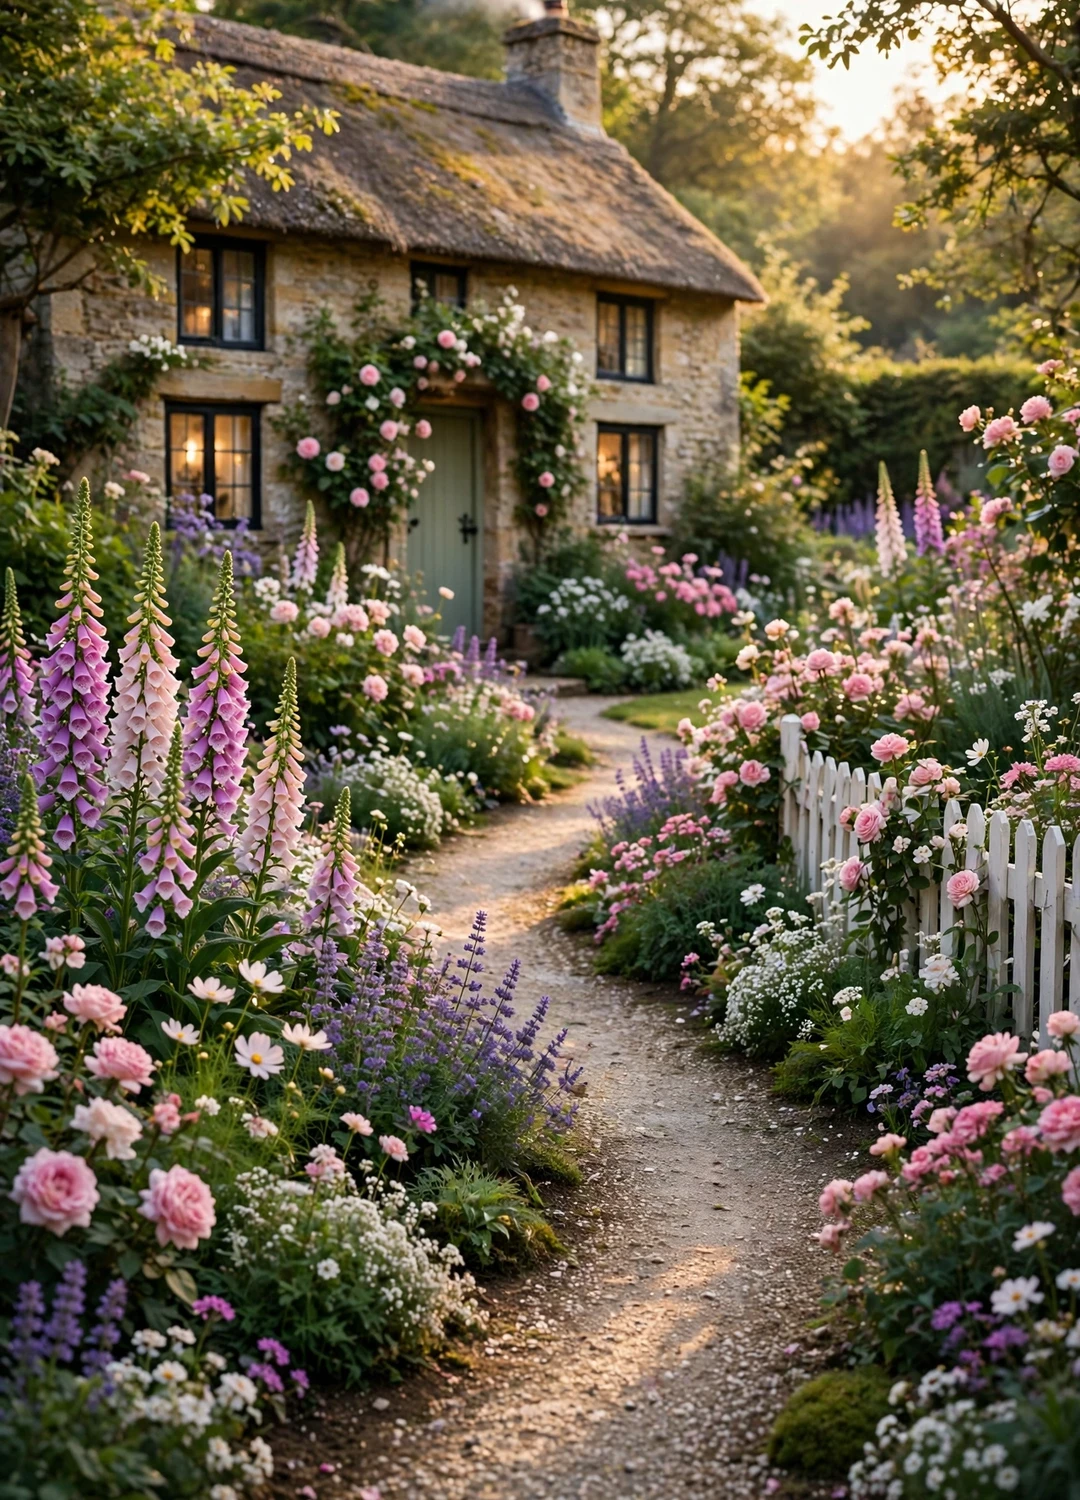
A winding path, layered borders and a simple fence — the bones of every cottage garden plan.
The secret of a cottage garden is not the plants. It is the plan underneath them. A path that leads somewhere, borders deep enough for three layers of planting, and a few repeated plants to hold it all together — get those right and almost any mix of flowers will look good. The 12 steps below work for a big country garden and a small front yard alike. Work through them in order, and by step 12 you will have a plan you can draw on a single sheet of paper and plant over a weekend.
1. Map the Sun, Shade and Soil First
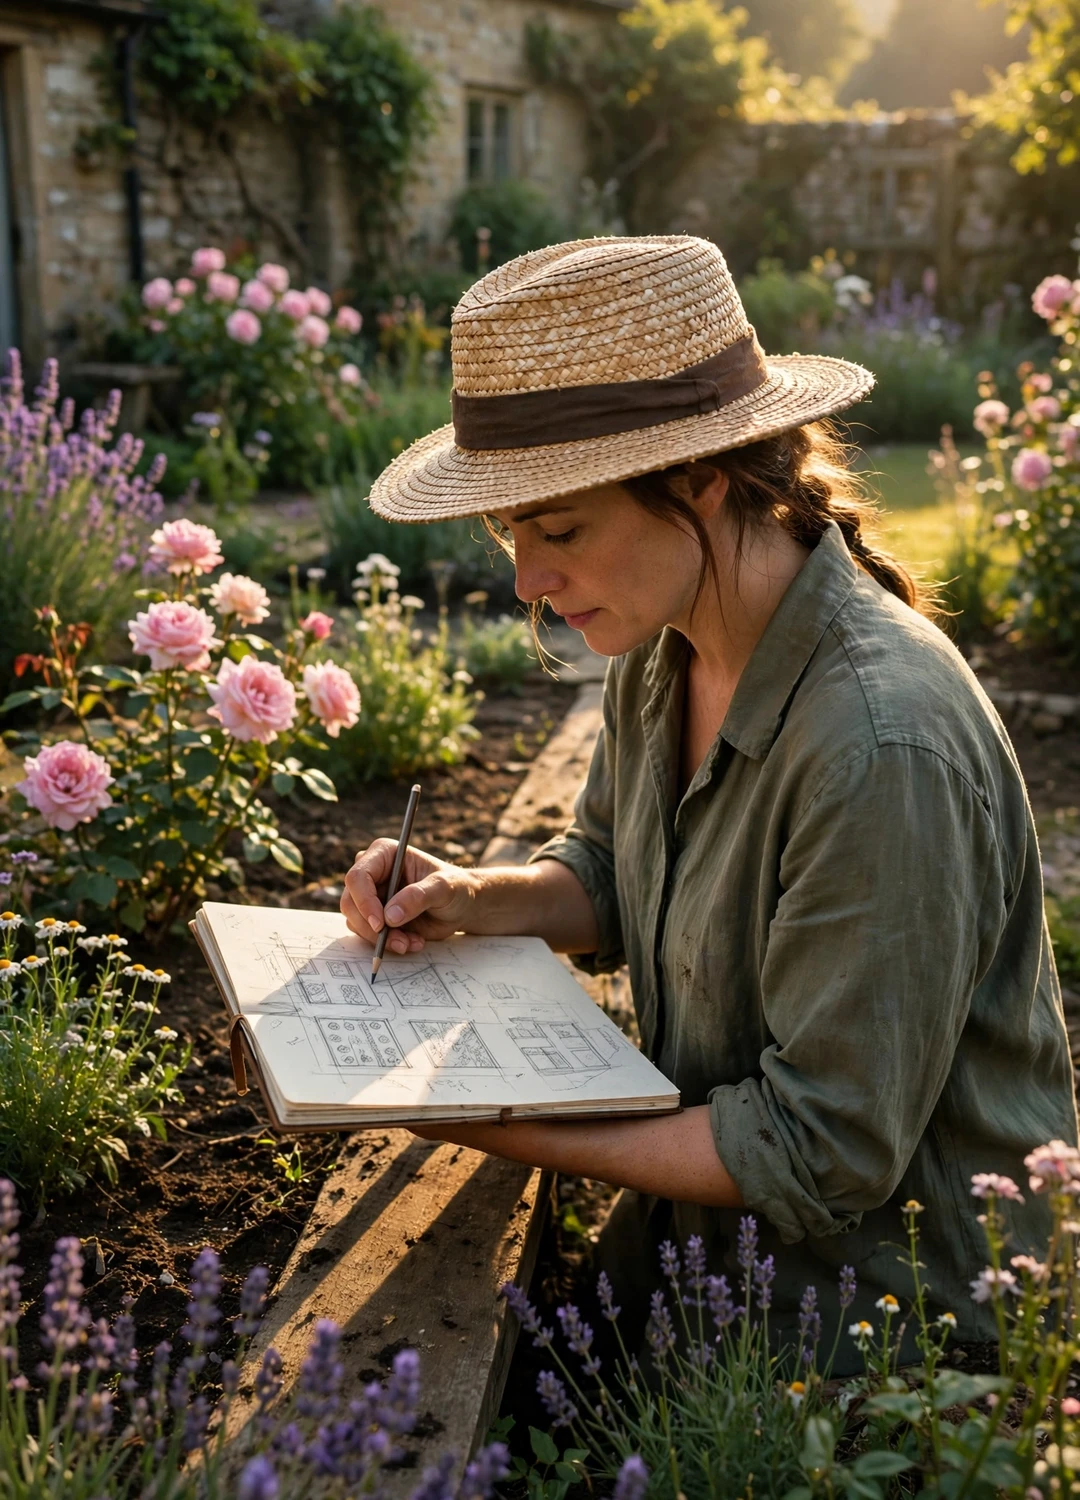
Before you draw anything, spend a day watching your garden. Note where the sun falls in the morning, at noon, and in the late afternoon, and mark the shady corners on a rough sketch. Most cottage plants want full sun — six hours or more — so the sunniest spots are where your flower borders should go. Then dig a small hole and look at the soil. Is it dark and crumbly, or pale and sandy? Does water drain away quickly, or sit in puddles? Cottage plants want soil that drains well, so heavy clay needs compost dug in first.
Why It Works
A plan drawn around real sun and soil stops you buying plants that will struggle. Roses and lavender in a shady, wet corner will sulk. Put them in the sun and they almost look after themselves.
Best for
Every garden, but most of all a new one. Even a rough sketch with sun arrows and a few notes about wet and dry spots will save you money and disappointment later.
Styling Tips
Take photos of the garden at 9 am, noon, and 4 pm on a sunny day. The photos make the sunny and shady areas obvious. If you are unsure about your soil, a simple squeeze test helps — soil that holds its shape when squeezed and then crumbles is good loam; soil that stays in a sticky ball is clay.
2. Draw the Path as the Spine
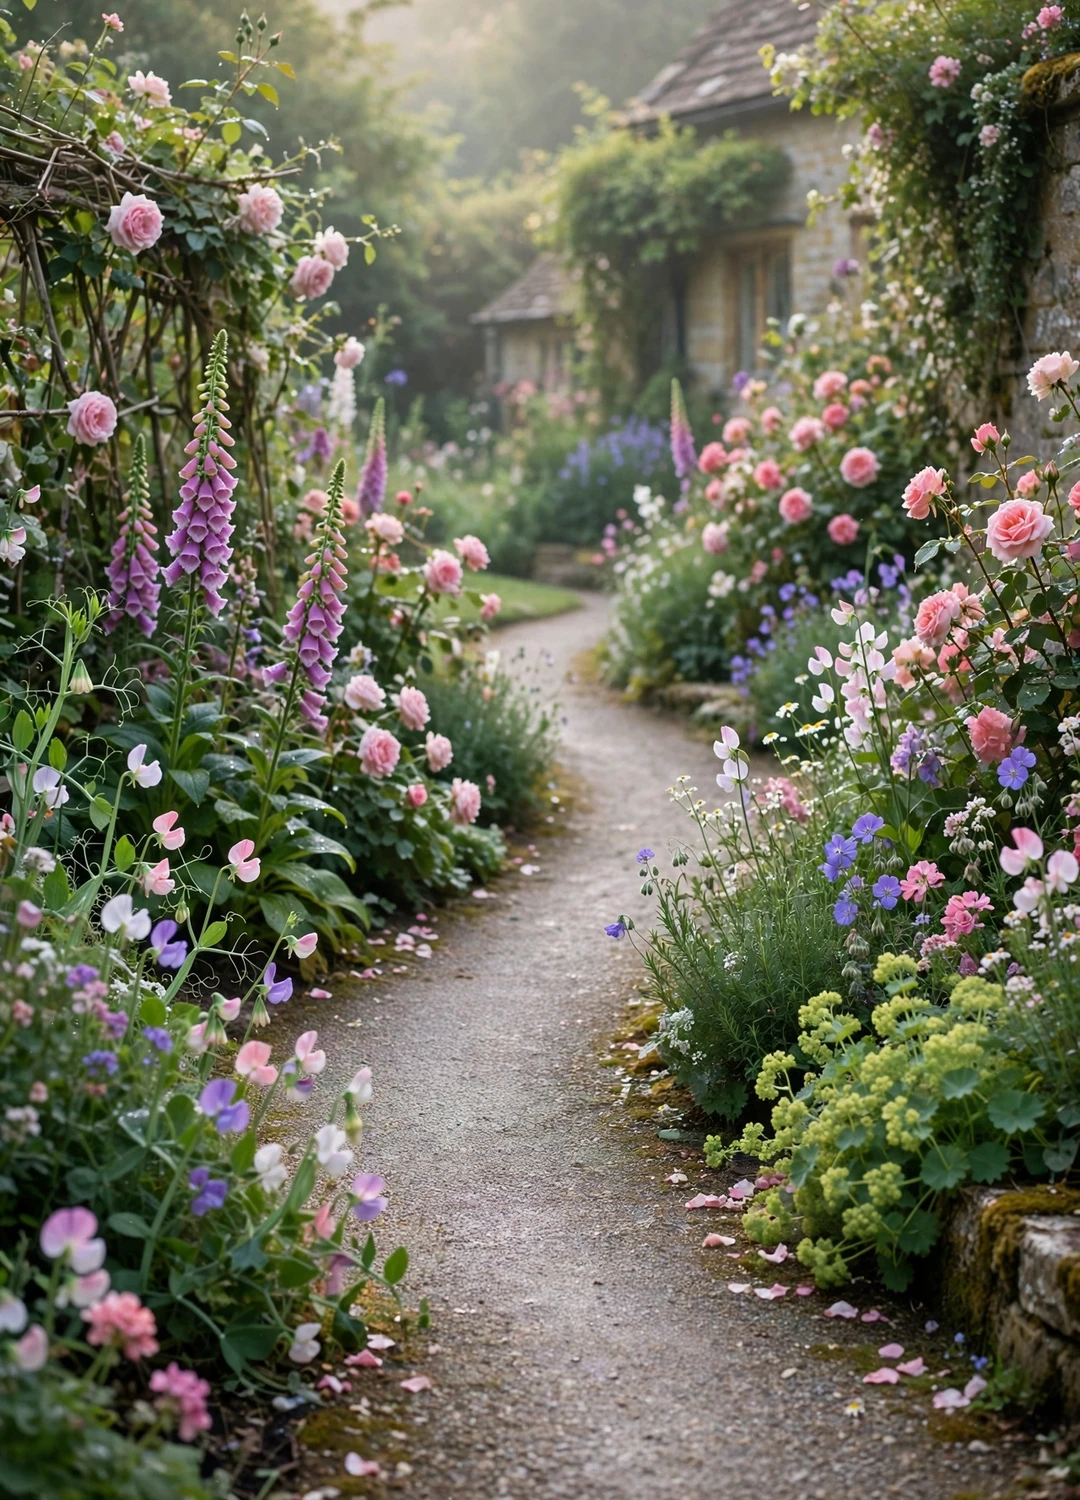
Every cottage garden needs a path through the planting, and the path is the spine of the whole plan. Start with one gently winding path from the gate to the front door, with beds on both sides. A soft curve feels far more cottage-like than a straight line, and it hides what is around the next bend, which makes even a small garden feel bigger. Before you dig, lay a garden hose on the ground and bend it into the curve you want — it is the easiest way to see the shape before you commit to it.
Why It Works
The path decides where everything else goes. Beds flank it, arches span it, and the eye follows it. Without a path, a cottage garden is just a jumble of plants. With one, it has a shape.
Best for
Front gardens and back gardens alike. Use gravel, old brick, or stepping stones — anything that looks like it has been there for years.
Styling Tips
Keep the path about 90 cm wide so two people can pass, and let low plants spill over its edges. A path that is too straight or too wide looks like a driveway. One gentle S-curve is enough.
3. Frame It with Natural Boundaries
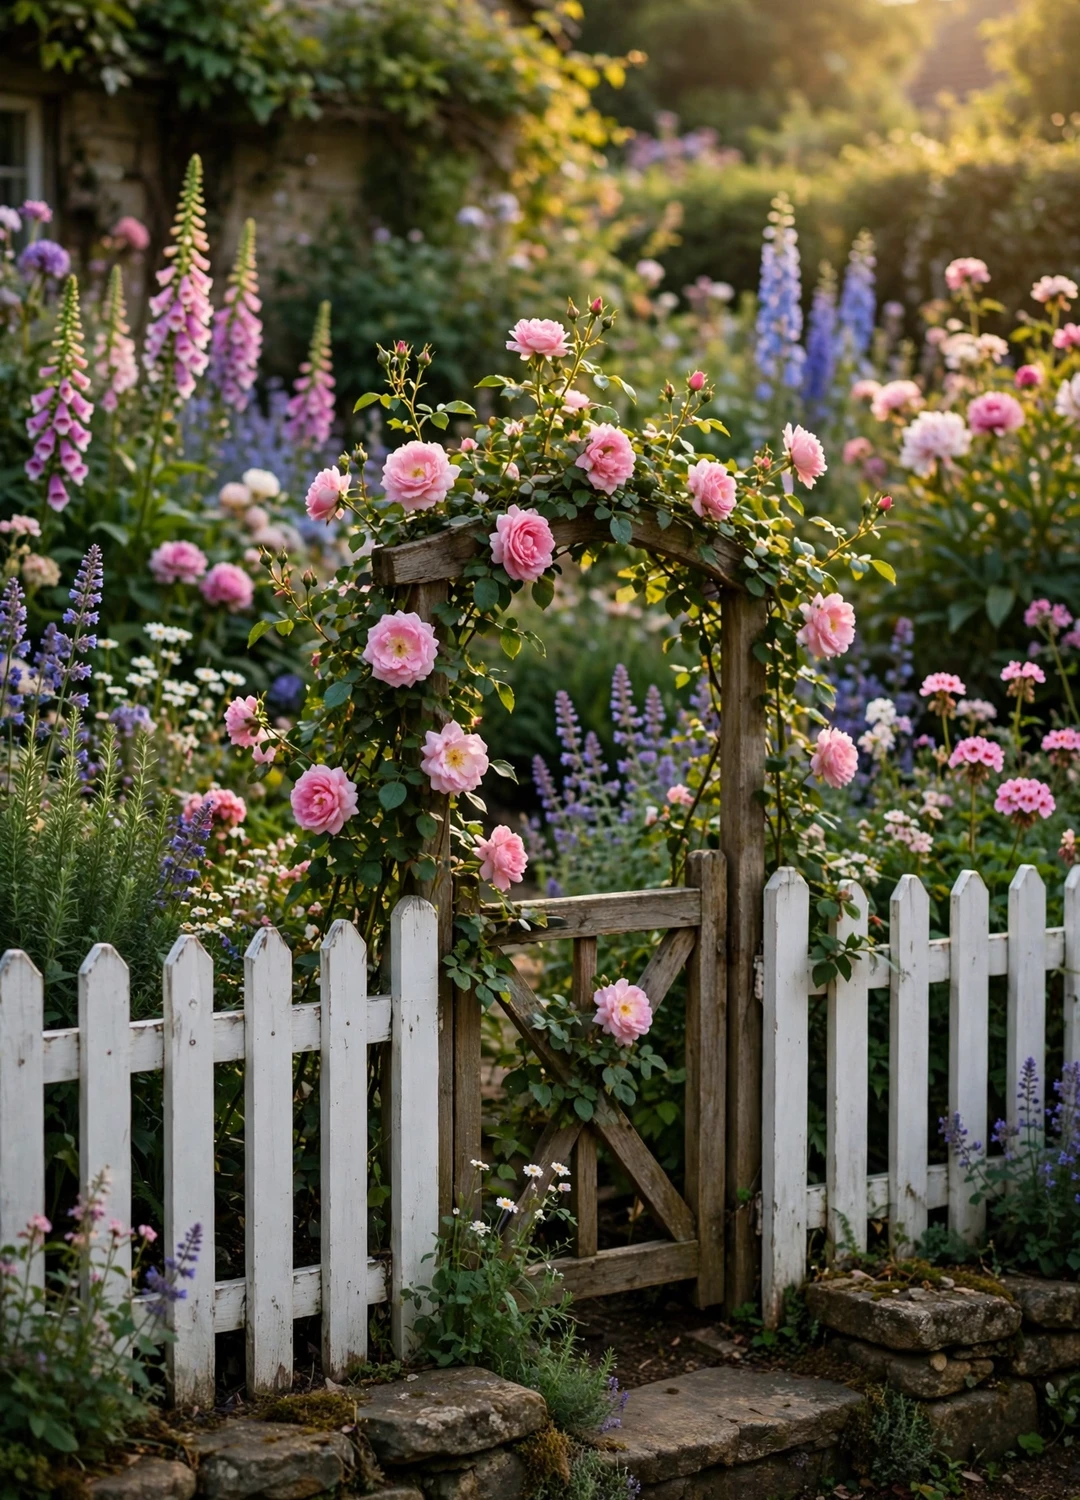
A cottage garden feels cosy because it is enclosed. Frame your plan with a low picket fence, a stone edge, a hedge, or a brick wall — something that marks the garden as a room of its own. Add a gate or an arch at the entrance, and the garden instantly feels like a place you step into rather than a patch of lawn you walk past. The boundary does not need to be tall. A fence at waist height is enough to hold the garden together while still letting you see over it.
Why It Works
Boundaries give the garden its shape and make the planting inside feel abundant. They also shelter the plants from wind, which matters for tall flowers like hollyhocks and delphiniums.
Best for
Front gardens, where a low fence and gate create that classic cottage welcome, and windy plots, where a hedge or wall protects the borders.
Styling Tips
Paint a picket fence white or soft sage green and let a climbing rose grow over the gate. If your boundary is a hedge, keep it trimmed to about waist height so it frames the garden without shading it.
4. Layer Every Border in Three Heights
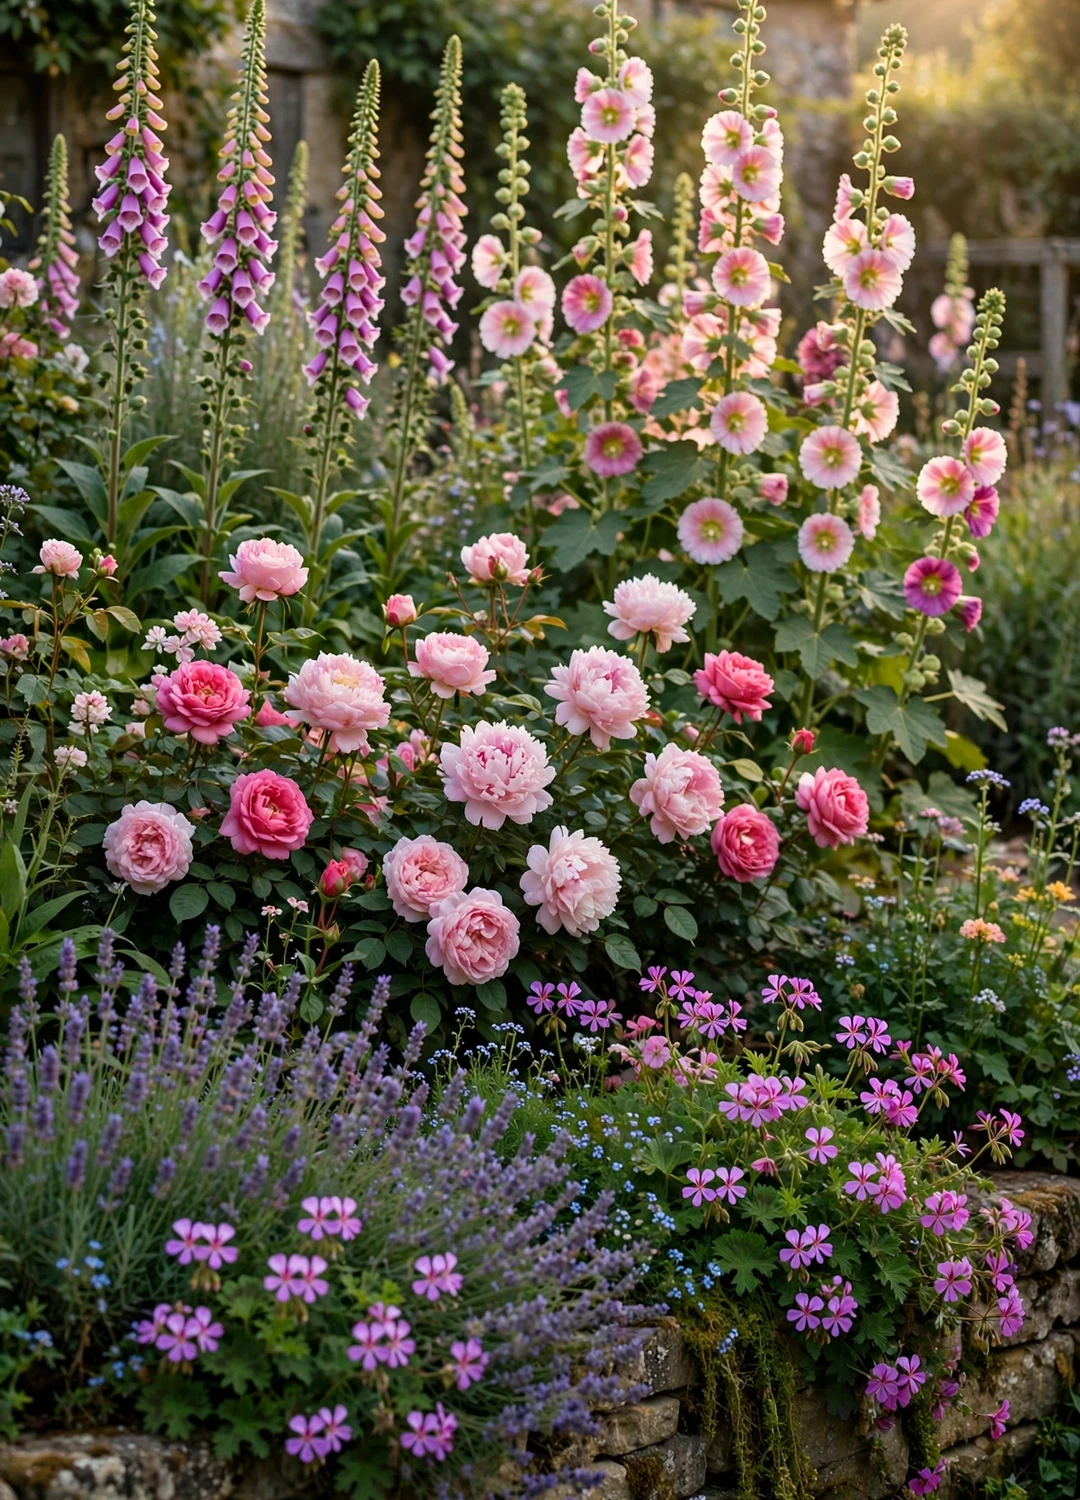
This is the single most important rule in cottage garden planning. Think in three layers: tall plants at the back (1.2 to 2 metres), mid-height plants in the middle (0.6 to 1.2 metres), and low spillers at the front (under 0.6 metres). Let each layer overlap the next so no bare soil shows. Plant in odd-numbered groups of 3, 5, or 7 — odd numbers look natural, while even rows look like a vegetable patch. And never plant in straight lines. A border needs to be at least 2 metres deep to carry three layers; a 1-metre strip can only manage two.
Why It Works
Layering is what makes a cottage border look full and effortless. Tall foxgloves and hollyhocks at the back, roses and peonies in the middle, lavender and geraniums spilling over the front — each layer hides the bare stems of the one behind it.
Best for
Any border against a wall, fence, or hedge. For a border you can walk around, put the tallest plants in the centre and step down on both sides.
Styling Tips
Repeat a few key plants along the border so the eye travels down its length. For the full flower list to fill each layer, see our English cottage garden flowers and our plants for an English cottage garden.
5. Give the Path a Destination
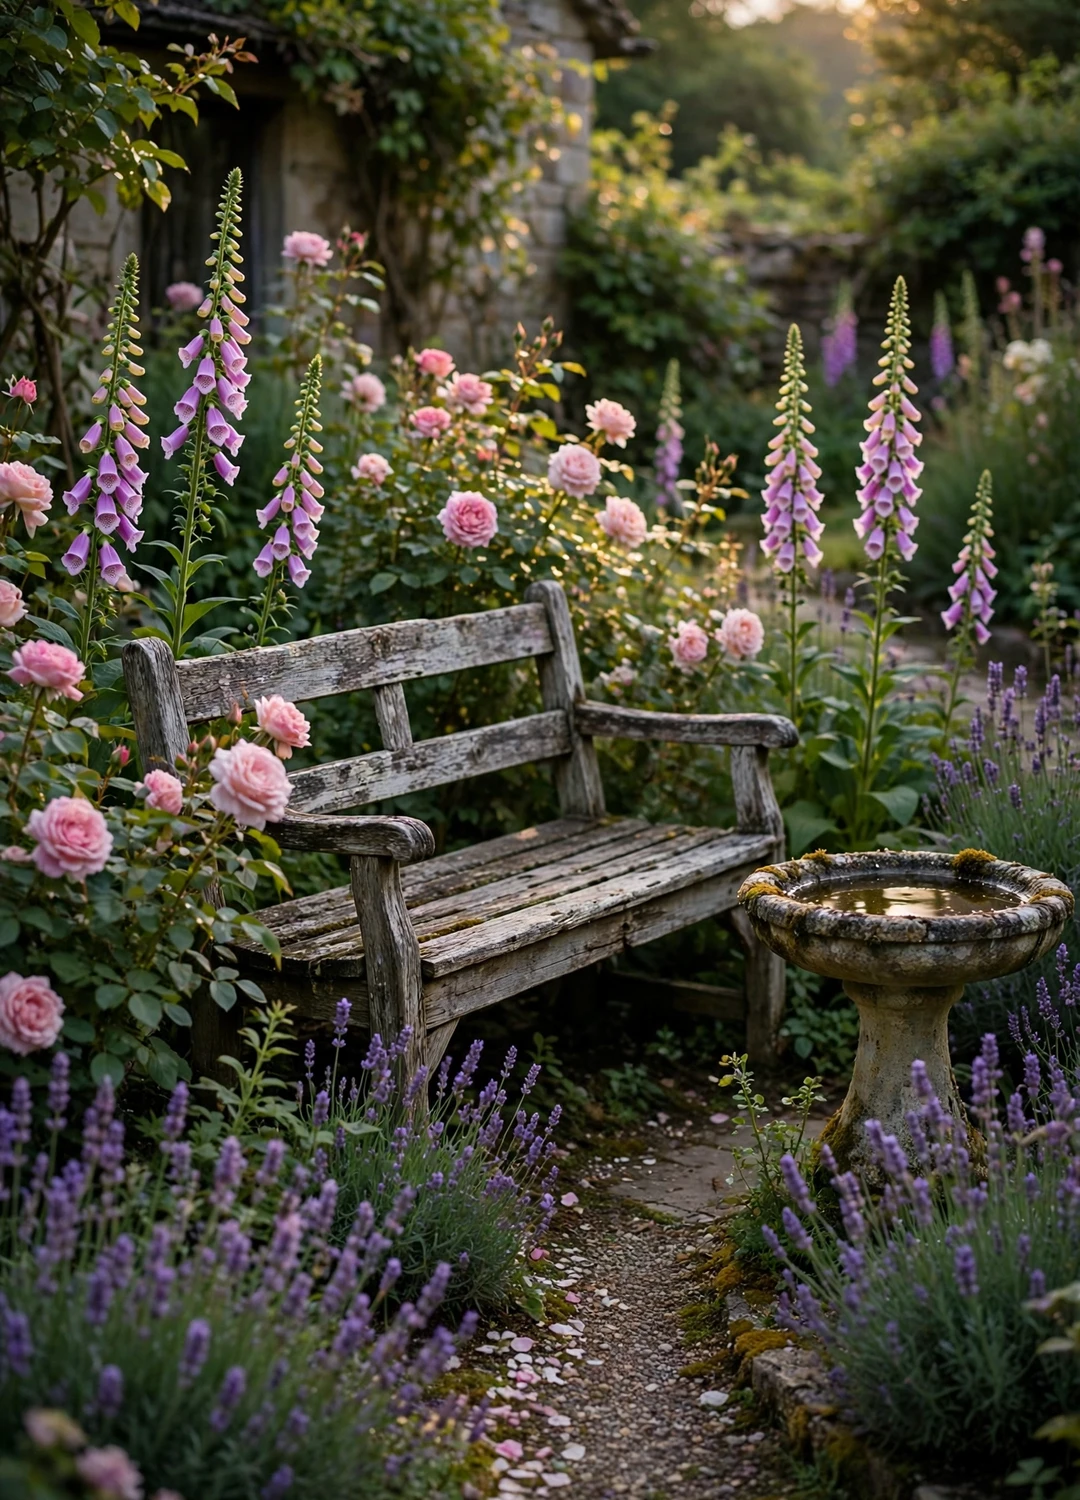
A path that leads nowhere feels unfinished. Give yours a destination at the end: a bench, a birdbath, an arch, an arbour, or a single feature rose. This focal point is what the eye lands on as you walk down the path, and it is what makes the garden feel designed rather than accidental. One focal point per view is enough. Two or three competing features in the same sightline just look busy.
Why It Works
A focal point pulls the whole plan together. It gives the path a reason to exist, and it gives you somewhere to sit and enjoy the garden you planned.
Best for
The end of the main path, the centre of a lawn, or a shady corner that needs a reason to visit. A bench under a small tree is the classic cottage choice.
Styling Tips
Choose something you can see from the house — a bench or birdbath framed by the kitchen window doubles your enjoyment of it. Keep it simple: a weathered wooden bench beats an ornate statue in a cottage garden every time.
6. Go Vertical with Arches and Climbers
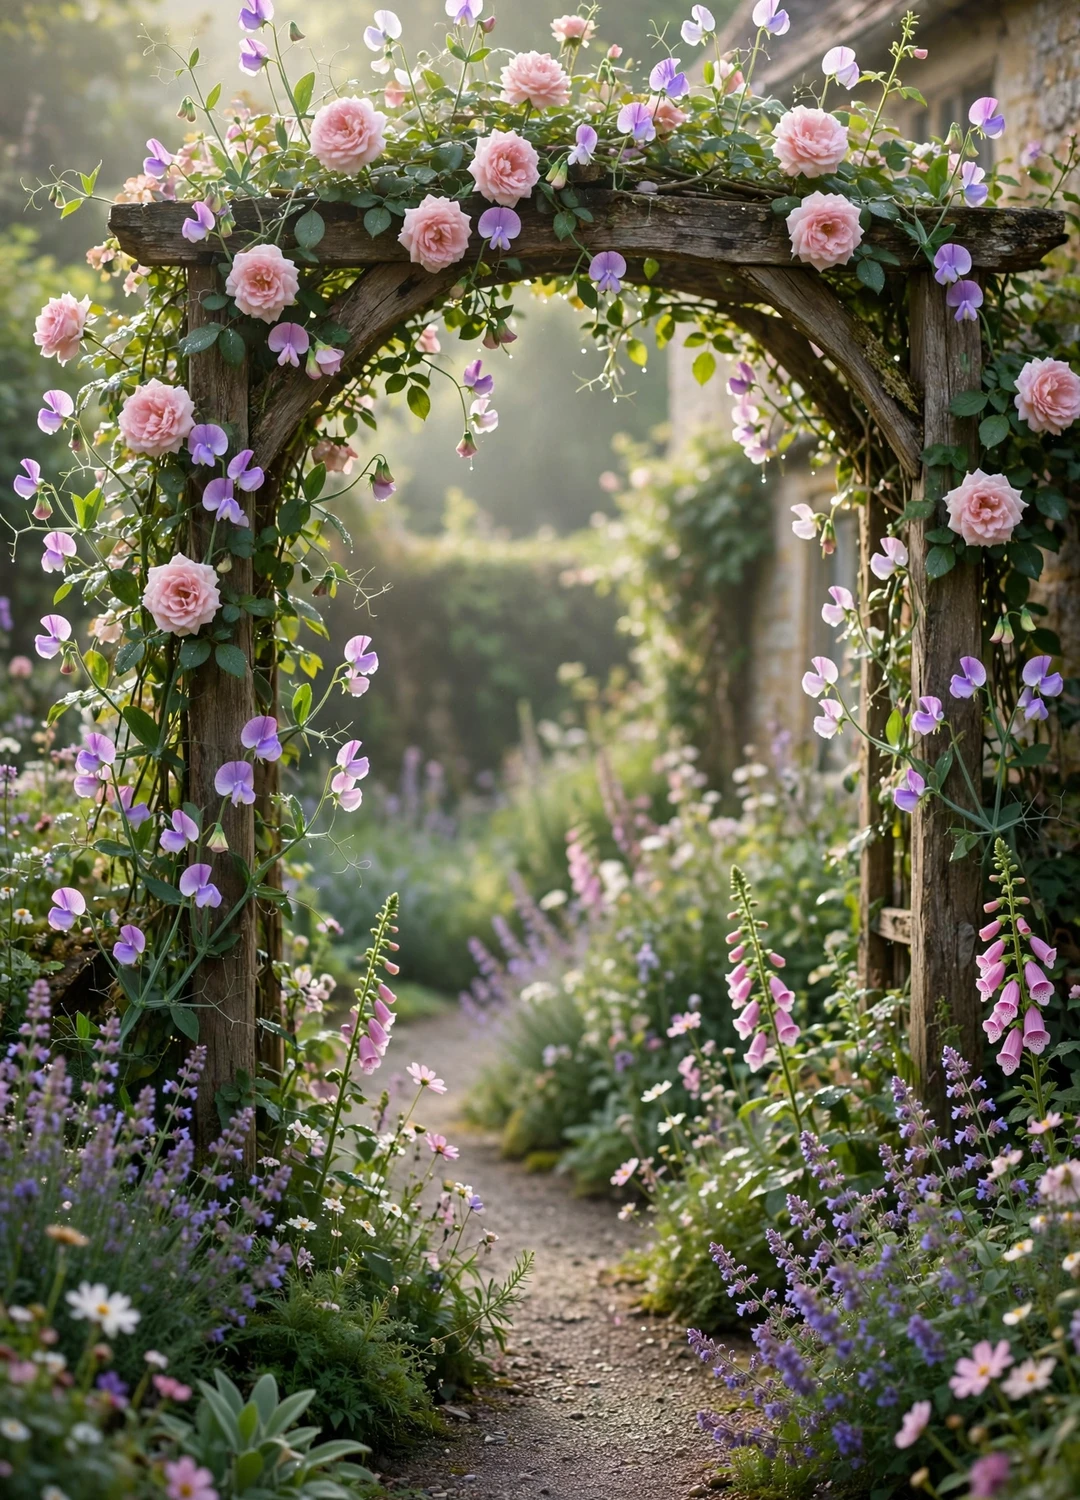
When the ground is full, go up. Arches, pergolas, obelisks, and wigwams add height without taking up bed space, and they are made for climbing roses, clematis, and sweet peas. Put an arch over the path where it enters the garden, or over the gate, and the whole garden feels taller and more romantic. A wigwam of sweet peas takes up less than a square metre of ground and gives you a tower of scented flowers all summer.
Why It Works
Vertical planting adds a second layer of garden above the borders. It frames views, shades a bench, and makes a small garden feel much bigger than it is.
Best for
Small gardens, where every square metre counts, and bare walls and fences, where a climbing rose turns a blank surface into a wall of flowers.
Styling Tips
Match the structure to the cottage: wood and rusted metal suit a cottage garden better than shiny new plastic. Plant a climbing rose on one side of an arch and clematis on the other — they flower at different times and share the same support happily.
7. Plan Colour Through the Seasons
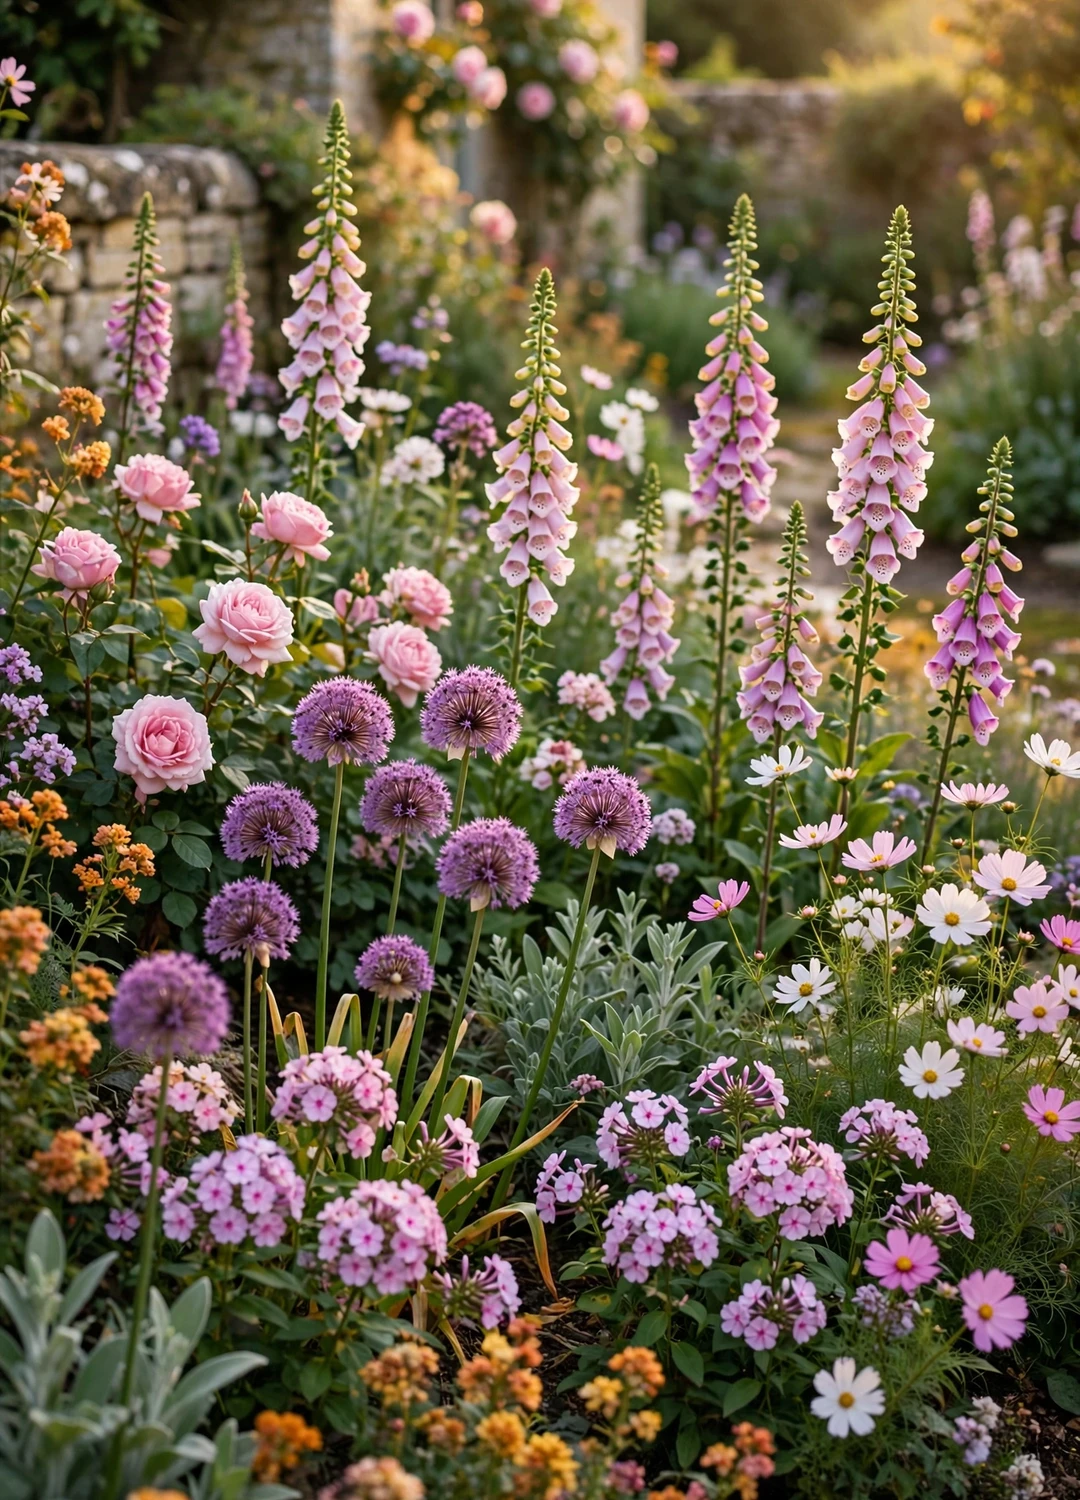
A cottage garden should never have a bare month. Plan three flowering waves: spring (wallflowers, alliums, and aquilegia), midsummer (roses, foxgloves, sweet peas, and hollyhocks), and late summer into autumn (phlox, cosmos, verbena, and cornflowers). Aim for no more than about 60% of the border peaking at once, so something is always coming into flower while something else is fading. Repeat a few key plants along the border so the colour flows rather than stopping in blocks.
Why It Works
Three waves mean the garden changes all year instead of having one big show and then nothing. It also spreads the work — you are never deadheading or planting everything at once.
Best for
Every cottage garden, but especially one you see daily from the house. Plan the spring wave first, since bulbs and biennials need planting the autumn before.
Styling Tips
Pick one soft colour family — pinks, purples, and whites, or warm yellows and oranges — and repeat it through all three waves. A limited palette is what makes a cottage garden look calm instead of chaotic.
8. Put a Herb and Kitchen Corner by the Door
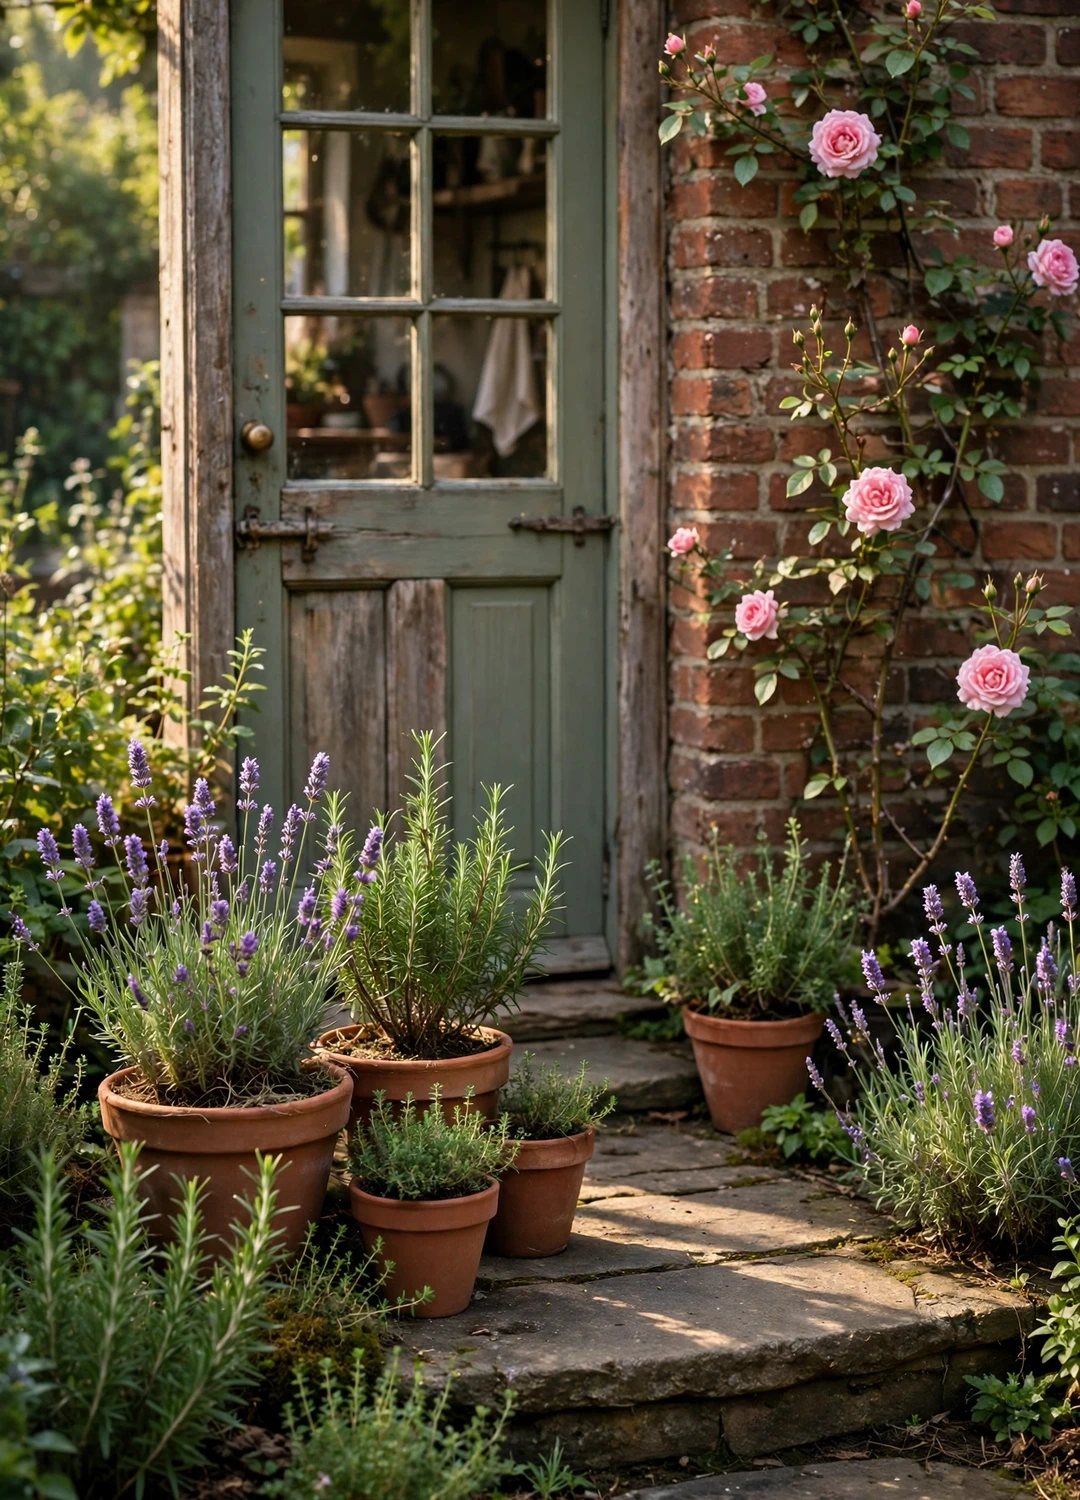
Cottage gardens were working gardens first and pretty gardens second, so keep that spirit in your plan. Put herbs and cut flowers close to the kitchen door, where you can snip them while you cook, and give vegetables their own sunny patch a little further out. Rosemary, thyme, sage, and lavender all love sun and poor soil, and they look right at home in a flower border. A few pots of herbs on the doorstep work just as well if you have no bed space.
Why It Works
Herbs by the door get used. Herbs at the far end of the garden get forgotten. Keeping them close means fresh flavour in the kitchen and scent every time you step outside.
Best for
The sunny wall by the back door, a raised bed near the kitchen, or a row of terracotta pots on the doorstep.
Styling Tips
Mix herbs into the flower border rather than hiding them away — lavender edging a path and rosemary beside the gate look like flowers and work like herbs. Keep mint in a pot, or it will take over the whole bed.
9. A Plan for a Small Garden
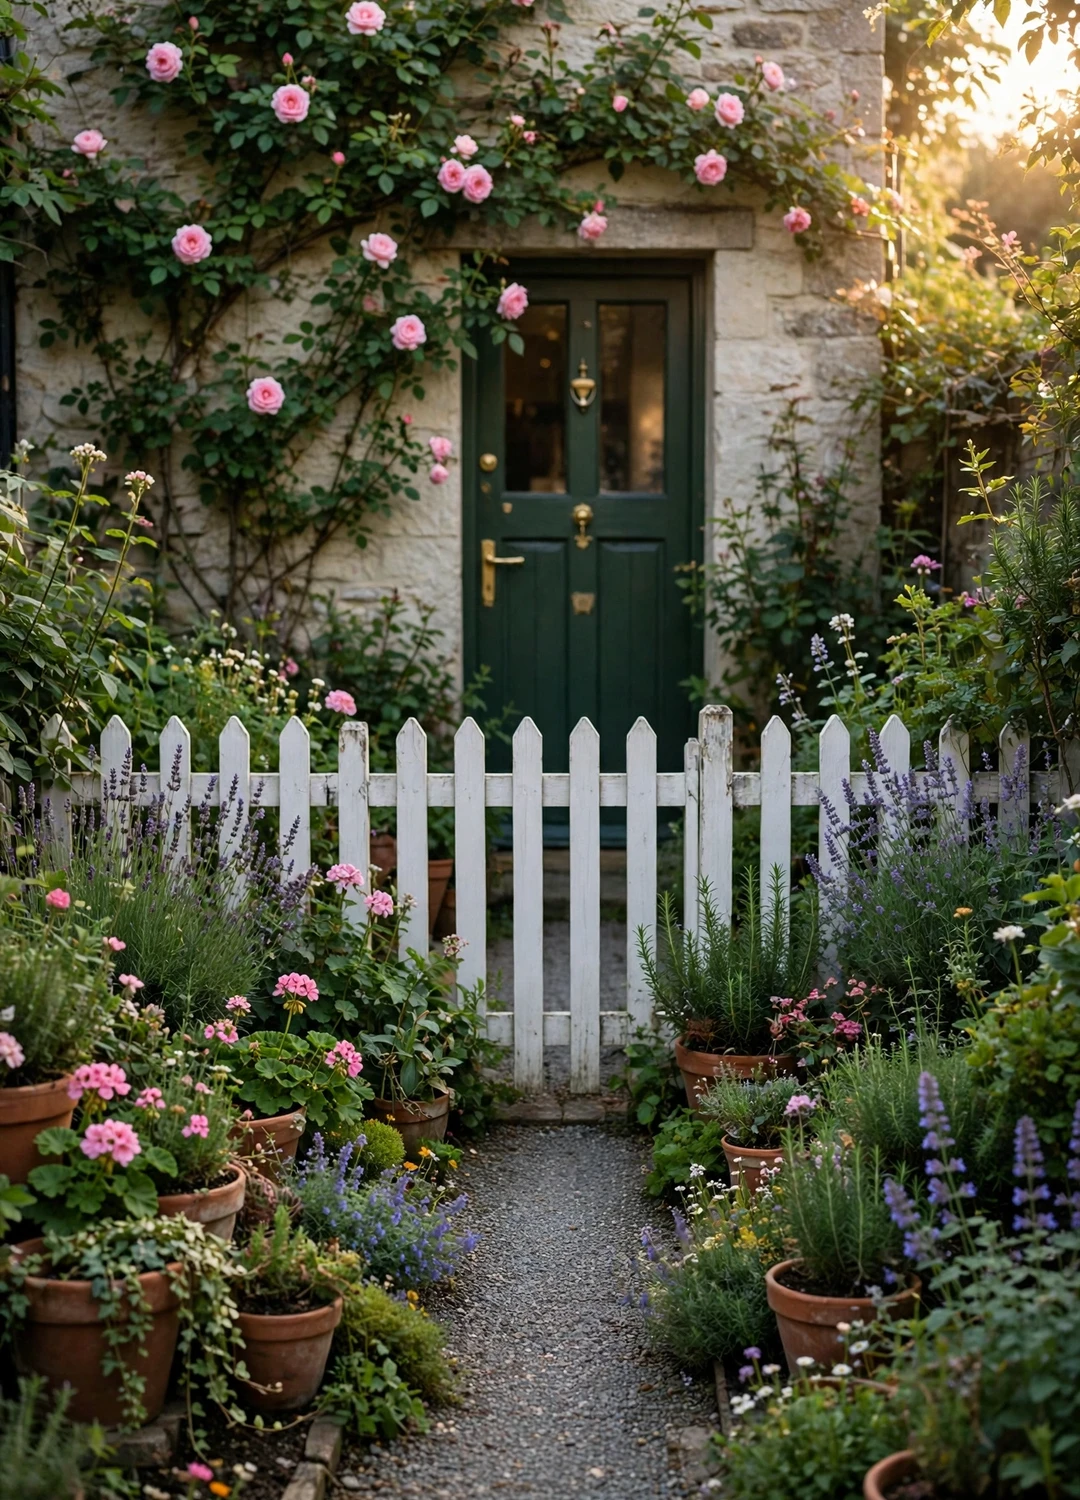
You do not need acres for a cottage garden. A small garden works with narrow beds, pots and containers, and climbers on the walls. A front-yard plan can be as simple as a picket fence, a short path to the door, a climbing rose on the wall, and two narrow borders either side of the path. If your beds are only 90 cm to 1.5 metres deep, use two layers instead of three and let climbers on the wall behind supply the height. A 2 m by 3 m border works far better than a 1 m by 6 m strip, because depth is what lets you layer.
Why It Works
Small gardens suit the cottage style because cottage planting is dense. A few square metres packed with flowers looks abundant, not cramped — and a small garden is far easier to keep watered and weeded.
Best for
Front gardens, courtyards, and any plot under about 50 square metres. Pots and containers let you grow cottage plants even with no beds at all.
Styling Tips
Use one big pot as a focal point rather than ten small ones, and repeat the same plant in several pots for a calm, planned look. If you are still planning the house itself, our English cottage floor plans show how small cottages make room for a proper front garden.
10. Leave Room for Wildlife and Self-Seeders
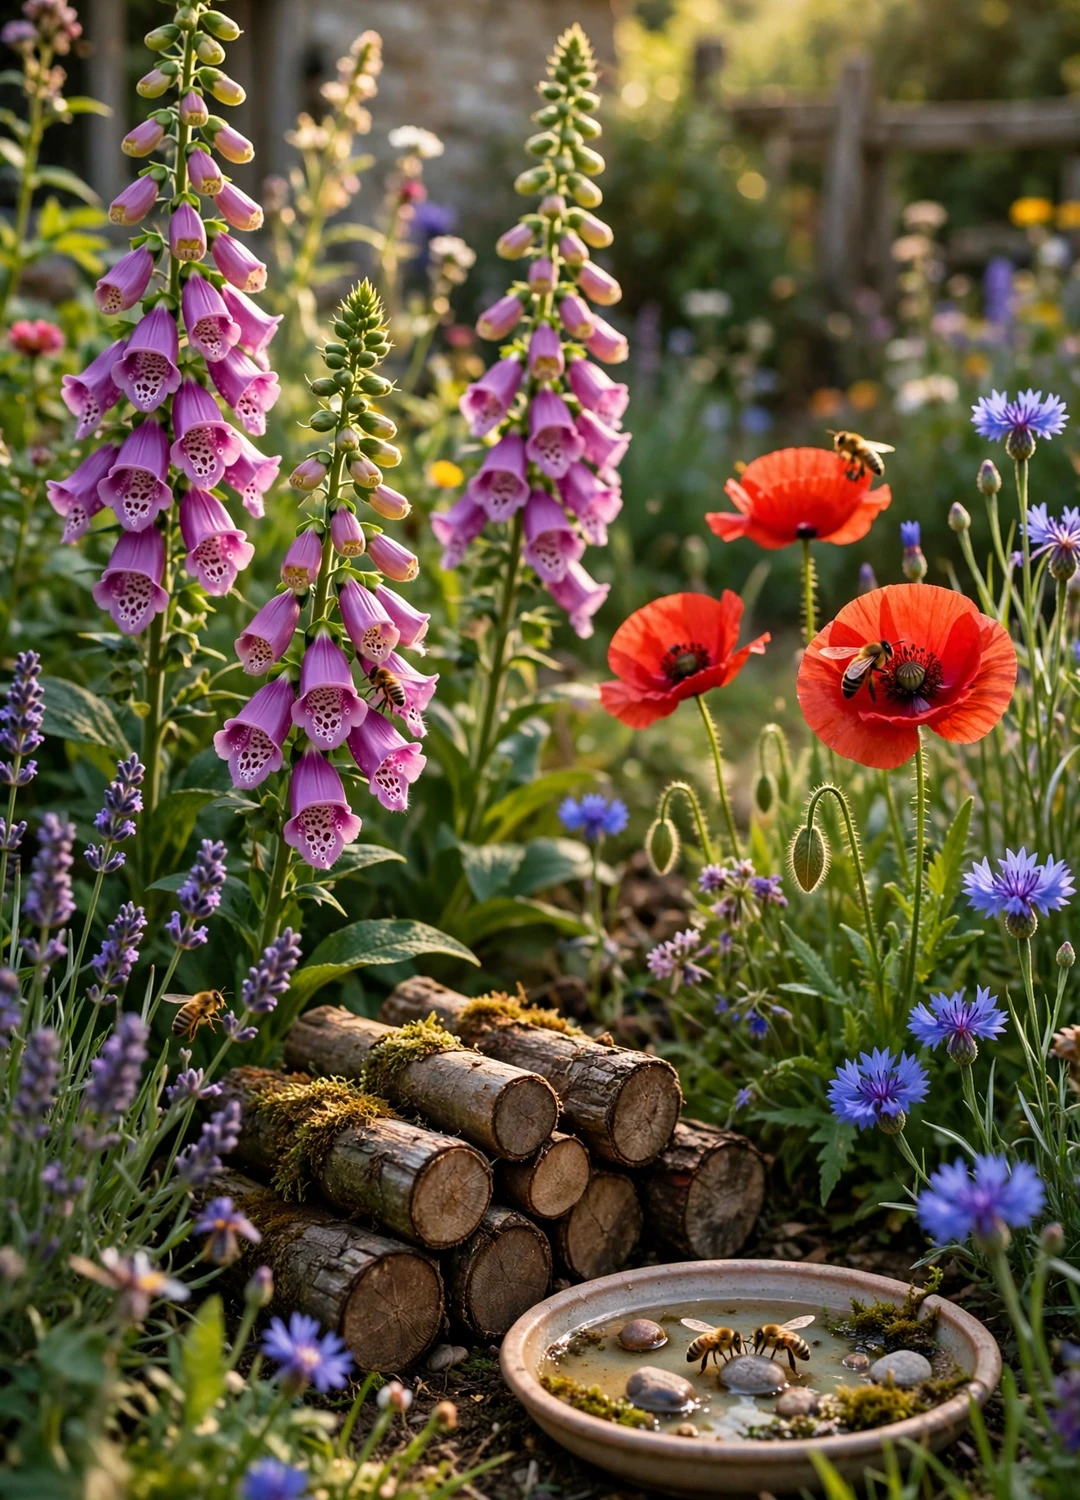
A cottage garden should hum. Leave a pollinator corner with single, open flowers that bees can reach — lavender, salvias, and cornflowers are all loved by bees — and let foxgloves, poppies, and nasturtiums self-seed wherever they land. Self-seeders are the gardeners' free helpers: they fill gaps, soften hard edges, and come back year after year without you lifting a finger. Just pull out the seedlings that land in the path or in the wrong bed, and let the rest stay.
Why It Works
Self-seeders are what give a cottage garden its natural, unplanted look. No one arranges foxgloves as well as foxgloves arrange themselves. And a garden full of bees and butterflies is a garden that is working.
Best for
A sunny corner, the foot of a hedge, or any spot you are happy to leave a little wild. A small log pile or a shallow dish of water makes the corner even better for wildlife.
Styling Tips
Let a few spent flower spikes stand over winter so birds can eat the seeds, and avoid spraying. If a self-seeder lands somewhere perfect, leave it — the garden is telling you where it wants to grow.
11. Plan the Soil and Upkeep
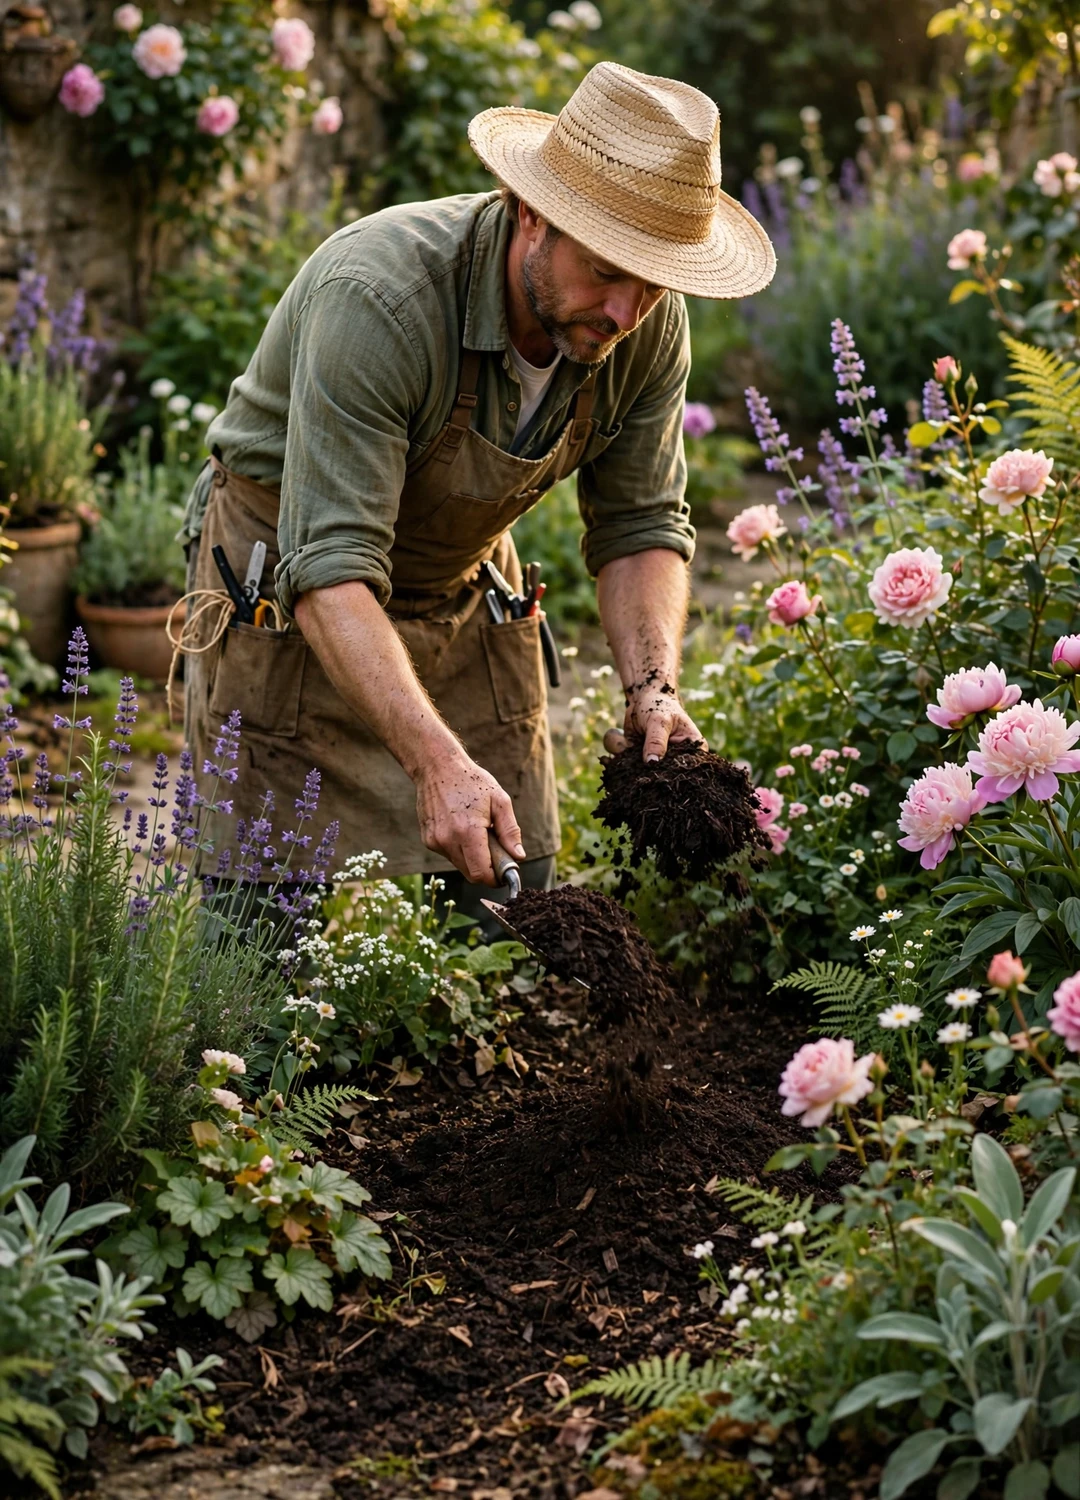
Cottage planting is dense, so the plants compete hard for food and water. Plan for that from the start. Fork over the top 20 cm of soil, pull out perennial weed roots, and spread a 5 to 7 cm layer of well-rotted compost or manure over the surface each autumn — the worms will pull it down over winter. Dense planting itself helps: once the plants touch, they shade the soil, hold in moisture, and crowd out weeds. Then keep a simple rhythm — deadhead spent flowers weekly in summer, water at the base in dry spells, and cut everything back once in late winter.
Why It Works
Good soil is what makes dense planting work instead of turning into a struggle. A garden fed with compost every year needs less watering, less weeding, and less feeding than one that is not.
Best for
Every cottage garden, but most of all heavy clay or thin sandy soil, where compost makes the biggest difference.
Styling Tips
Mulch in autumn, not spring, so the soil is still warm and moist underneath. And do not overfeed — too much rich food gives you leaves and few flowers, especially with cosmos and lavender.
12. A Sample Border Plan to Copy
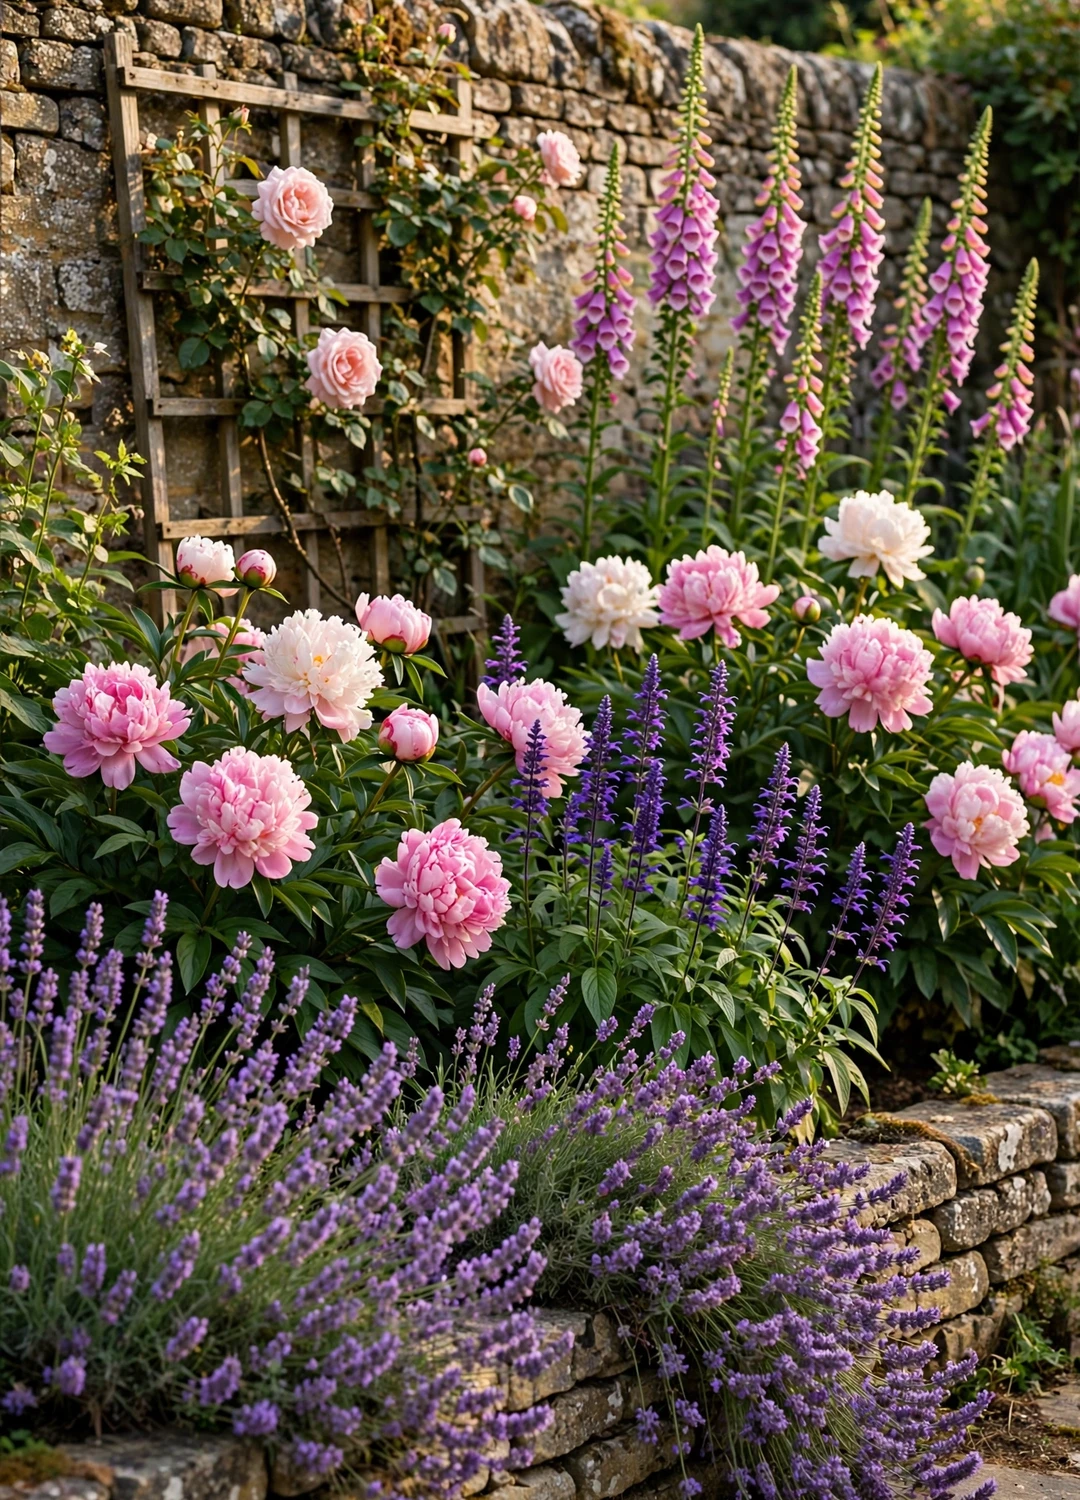
If you want a plan you can copy today, use this one: a south- or west-facing border, 3 metres deep by 6 metres long, in full sun or light shade, with reasonably rich soil that drains well. Plant it in layers — a climbing rose like 'Gertrude Jekyll' and foxgloves at the back, peonies and salvias in the middle, lavender 'Hidcote' spilling over the front — in odd-numbered groups of 3, 5, or 7. That is roughly 100 plants, plus scattered foxglove seed and spring bulbs tucked into the gaps. Plant bare-root roses, peonies, and bulbs in autumn, and the rest in spring. Then adapt it: swap plants to suit your sun, soil, and shade, and shrink it to 2 by 3 metres if your garden is small.
Why It Works
A ready-made plan takes the guesswork out of your first border. The dimensions are big enough for real layering, the plant mix covers spring to autumn, and the odd-numbered groups keep it looking natural.
Best for
A first cottage border, or the main border in a new garden. Once you have planted it once, you will know which plants love your soil and which to swap next year.
Styling Tips
Draw your version on graph paper before you buy anything — one square per 30 cm works well. Mark the path, the fence, and the sunniest corner first, then place the tallest plants, then fill in the middle and front. And if your garden is more shade than sun, see our English cottage post for how the whole cottage look — house and garden together — comes together.
Start with the Path, Then Plant
A cottage garden plan is really just four decisions: where the sun falls, where the path goes, how deep the borders are, and what flowers in each season. Get those four right and the planting almost takes care of itself. Start with the path and the layers, borrow the sample border above if you want a head start, and let the self-seeders fill in the gaps over the next year or two. Our plants for an English cottage garden post lists the perennials that anchor the whole plan, and our English cottage garden flowers post covers the flowers that fill each season. Plan it once, plant it well, and the garden will only get better every year.
More Cottage Ideas
Frequently Asked Questions
How big does a cottage garden need to be?
It can be any size. A small front garden with two narrow borders and a climbing rose works just as well as a big country plot. Aim for borders at least 2 metres deep so you can layer plants in three heights, and go deeper rather than longer if space is tight.
How do I plan a cottage garden in shade?
Put the borders where the sun falls and use shade lovers — foxgloves, aquilegia, and hardy geraniums — in the shady spots. Avoid sun-hungry plants like lavender and roses in shade, and use climbers on sunny walls instead.
How long does a cottage garden take to establish?
Expect a full look in two to three years. Annuals like cosmos and poppies give you colour in the first summer, perennials settle in during year two, and self-seeders like foxgloves fill the gaps from year two onwards.
Can I make a cottage garden plan for a small front garden?
Yes. Use a low picket fence, a short winding path to the door, a climbing rose on the wall, and two narrow borders either side of the path. Pots and containers add extra planting without taking up bed space.